Showing posts with label felt. Show all posts

Tuesday, October 30, 2012

Needle Felted AutumnLady

As I showed in this post, we have a very nice nature table (well, it's actually on top of a cabinet, but never mind).
But there are still some things missing...

I have always loved the nature tables an old friend of our had in her house, with loads of Waldorf-dolls she made herself.
I never got any further than sewing little gnomes from felt, with a pipecleaner base and wooden beads as a head, hands and feet. I've been making those since she tought me how to at the age of about 7, I think...
But when I got older and had already made a lot of them as gifts for grandma's and aunts, it wasn't fun anymore, so I stopped making them...

But since I started working in education, I always make nature / theme tables in my classroom and now that Joshua is getting bigger I want that in our home too. And not just with store bought decorations.

Since I learned sewing felt, I've also learned LOADS of other different crafts and needle felting is one Rebecca introduced me to.
So when I found these two amazing needle felted, Waldorf inspired dolls, I knew what I wanted to do...
Left                                       Right
click to go to the pin


After doing some research on how to get started, I combined this and this tutorial to make the base. I made the head and neck separately, as I was afraid the pipe cleaners would be visible. The head is very tightly felted, the body a little less tight and the skirt is very loosely felted. Only the underside is quite tightly done, to make it sturdy.


After I was satisfied with the rough base I made a dress by wrapping colored felt  in brown and yellow around the base and needling it in place. After that I started adding details and hiding little "mistakes" (little spots where the base was showing through).


When that was done, I added hair and a braided hairband (just to keep the hair in place, since is didn't really turn out how I wanted it initially).
I also gave her a scarf of sorts, since autumn is chilly.. I was was a bit torn in two about the pumpkin, I liked the idea of a broom for sweeping leaves, but since I wanted the whole tning finished and I didn't feel like going out in the dark to search for twigs, I made a little pumpkin anyway... Looks cute though.
The whole doll had a bit of a medieval feel to it, which I like...
I have always had a thing for medieval stuff and fantasy figures....
She makes me think of lady Marian in Robin Hood, the old Robin Hood with Kevin Cosner *sigh*...


I think she looks rather lovely "under" our tree... Don't you think so too...
Oh yes, I really need to thank my colleague and friend Elisabeth, since she provided me with roving for the base and a couple of colors, so that I didn't have to do, and wait, for an order of roving!

Love, Caroline

Tuesday, July 24, 2012

PIF

I came across this topic on a couple of blogs I read.

PIF...
..
..
PIF?
..
..
PIF stands for Pay It Forward... Now that rings a bell...!

Remember the movie?
The idea is that you do something selfless for someone. That someone may in turn be inspired to do something selfless for someone else (or multiple someones...)

So when Rebekka asked if any of her readers was interested in a PIF, I didn't hesitate to respond...

Today I visited Rebekka (more on that in another blogpost) and I got my PIF...!
It is sooooooo gorgeous!
Rebekka knows we (Andries and I) love everything Whale and we love whaley-stuff for Joshua.
I could have guessed I would get a Whaley-PIF...


She made a Marble-bag with an embroidered whale. Inside was a felt whale which I can add to a shirt, bag or make a brooch from, a whale stamp, a stuffed whale (which Joshua LOVES! ! !) and a really cute small whale pin...

So now it's my turn to Pay It Forward...!
If there is anyone who is interested in receiving a small PIFpackage, let me know!
You don't have to have a blog to enter... You just have to like receiving a small gift and be open to the idea of maybe Paying It Forward...!

Love, Caroline


Tuesday, March 27, 2012

LeafGarland Tutorial

First off: I'm going to mention someone is this blogpost whom I have mentioned a lot...
I guess it's because we have so many common interests.
We share a lot of the same hobbies and the same idea's.

As with this one...

About a year ago, Rebecca created this tree. I had seen similar trees around the web, but in my opinion, they were all waaaaay to expensive.
So I asked Rebecca for the pattern. It had been tucked away safely in my agenda, but a couple of weeks ago, I finally found the time (and peace of mind, busy, busy, busy) to trace it and ask hubby to cut it out for me.

So while it was dark outside, he sawed away in out kitchen...
To be honest, we do a lot of DIYing in our kitchen during the darker evenings of the year.
Our shed is just to cramped and cold and we have a very patient vacuum cleaner.

So the tree has proudly been standing on the cabinet in our livingroom.

But with Spring coming and leaves starting to grow, I wanted a little decoration for my little tree.
That's when I thought of a leafy garland and made a tutorial as I went along...
Here it comes:
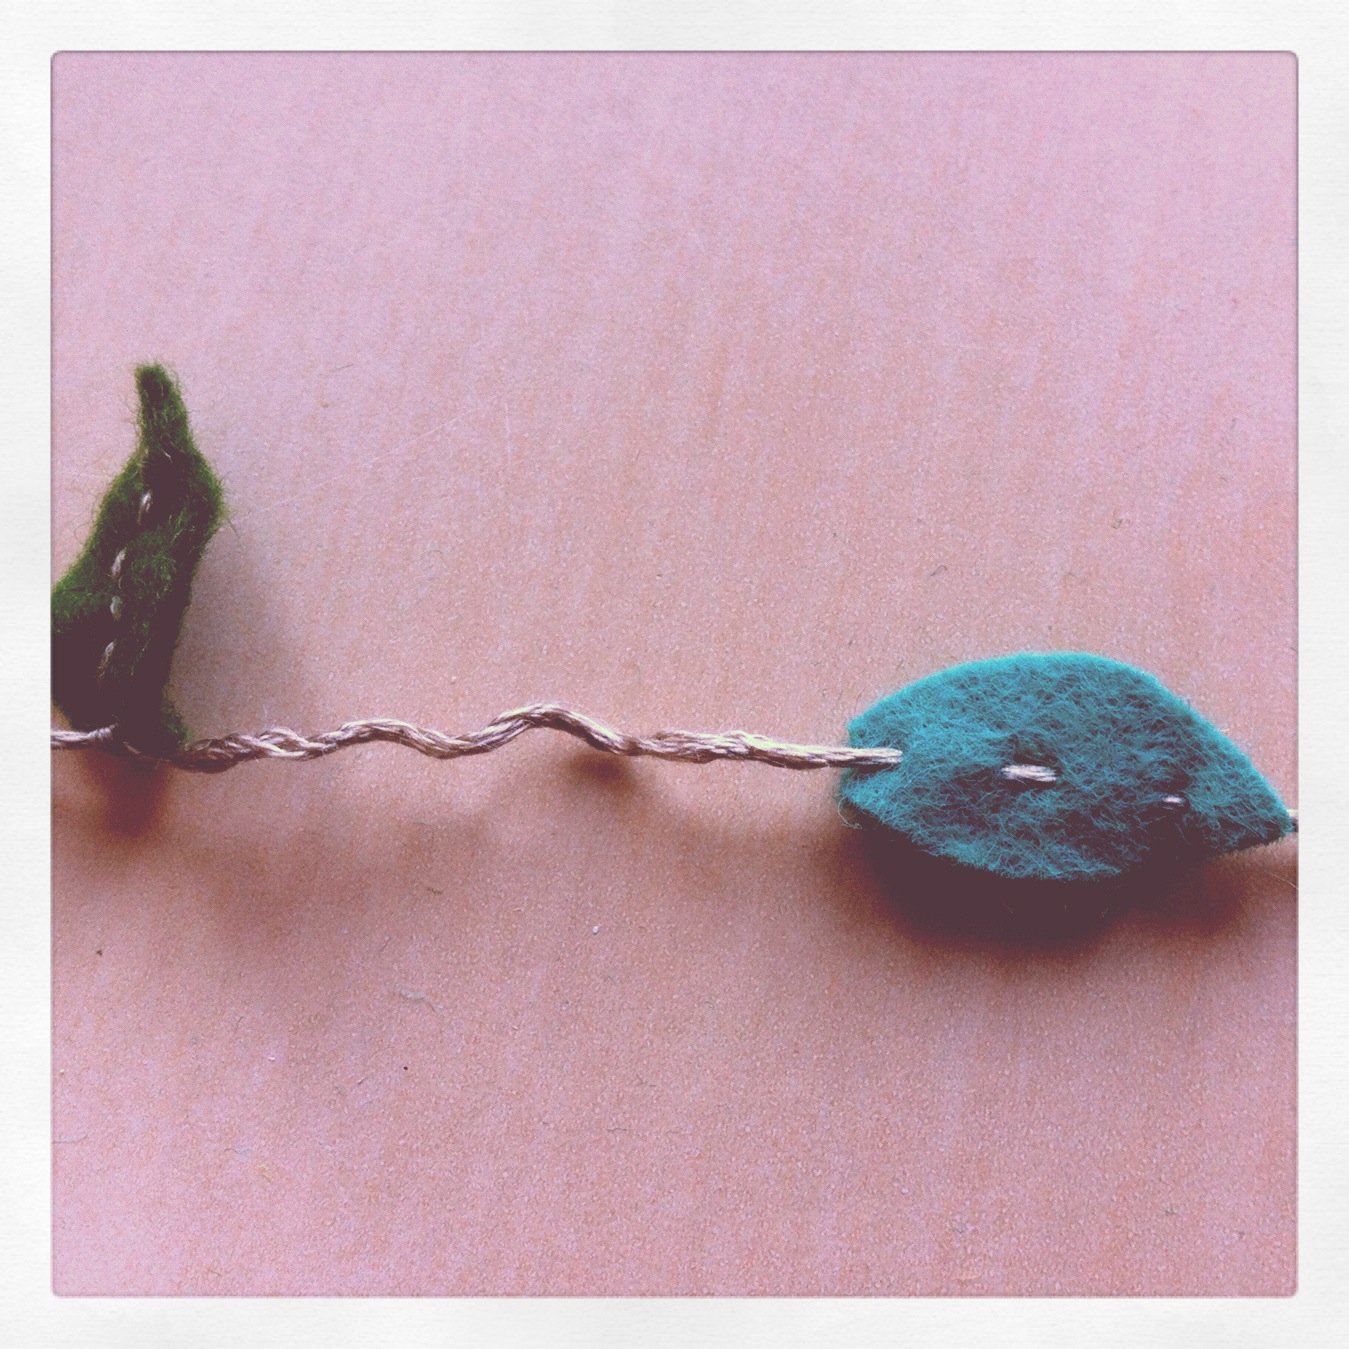
1. Cut some leaves from green felt. Mine are about 2cm long.

2. Pick a thread to stitch them on. I used DMC
embroidering thread in a color similar to the color of my wood.
3. Stitch the thread throught one of the leaves
and slide it to about 5cm from the end of the thread.
4. Stitch the tread back through the leaf.
Tie a knot in the thread, so the leaf hangs down.
5. Stitch through the next leaf and slide it
to where you want it on the thread.
I spaced them about 5 to 7cm a part.
Repeat step 4 and 5,
 untill al the leaves are stitched onto the tread.
6. Weave the garland in to the tree and VOILA... A Spring-y tree...
Love, Caroline

Sunday, March 11, 2012

Felt Party

A while ago Rebekka asked me if I was interested in going to a felting workshop, which would cost about 60euro's. I told her I'd love to, but only if finances allowed me to.
Well, I didn't even have to wait and see, because a couple of days later she asked me if I was interested in doing a workshop at her place, with a couple of her friends (and our colleague Elisabeth), which would cost 10euro's.... Guess what I told her? YES!
So I got invited to a "felt party".

We were all asked if we could bring something for lunch and she would provide the materials and teach us a couple of techniques.

So I went over on a Saturday, with a leak and cheese pie (recipe coming soon!).

Rebekka ordered loads of goodies at Meervilt.


We got started with wetfelting a ball. We felted around a foam stressball, so we had something substantial to start with.
I made a marbeled ball, on which I needlefelted stars after it dried.

After lunch, Rebekka taught us how to needlefelt.
I made a whale, ofcourse...


This is what we made during the day:

We divided the remaining materials between the 6 of us, so could make some more projects at home.
I already felted a little mouse...

Love, Caroline

PS: I shamelessly borrowed most of the pictures from Rebekka's blog...
Here's the link: Click