Tuesday, July 24, 2012

PIF

I came across this topic on a couple of blogs I read.

PIF...
..
..
PIF?
..
..
PIF stands for Pay It Forward... Now that rings a bell...!

Remember the movie?
The idea is that you do something selfless for someone. That someone may in turn be inspired to do something selfless for someone else (or multiple someones...)

So when Rebekka asked if any of her readers was interested in a PIF, I didn't hesitate to respond...

Today I visited Rebekka (more on that in another blogpost) and I got my PIF...!
It is sooooooo gorgeous!
Rebekka knows we (Andries and I) love everything Whale and we love whaley-stuff for Joshua.
I could have guessed I would get a Whaley-PIF...


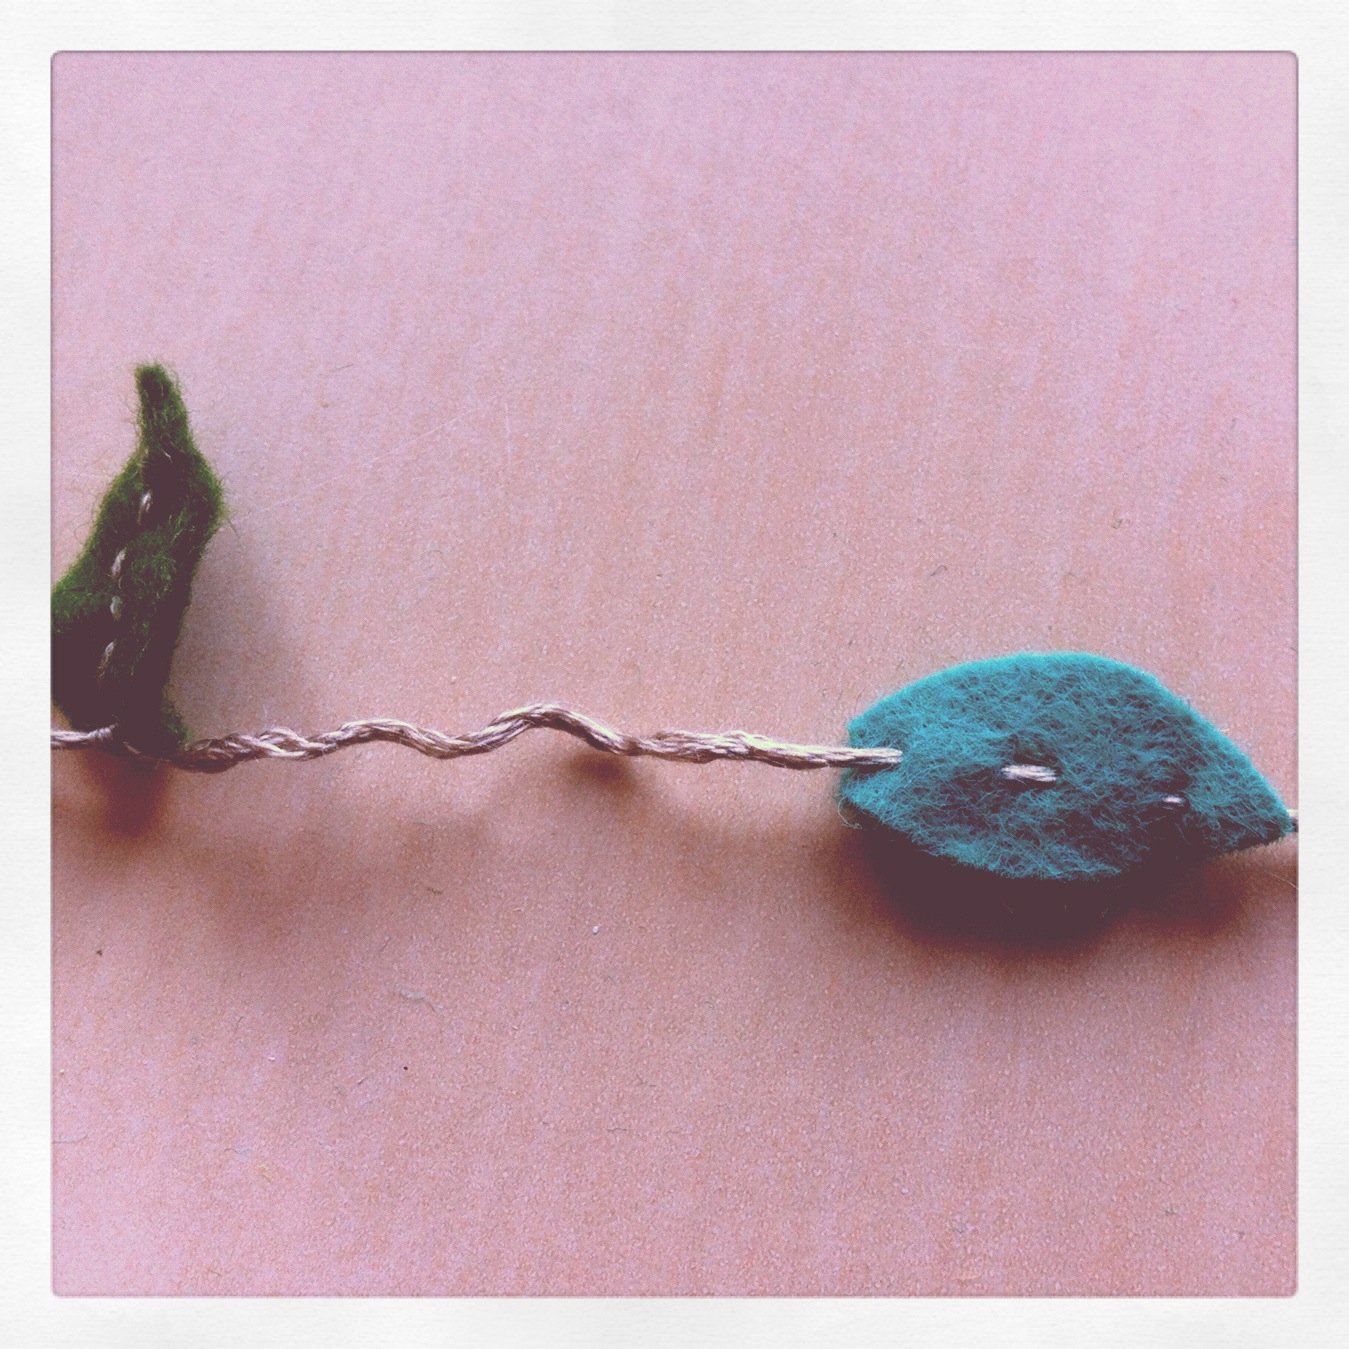
She made a Marble-bag with an embroidered whale. Inside was a felt whale which I can add to a shirt, bag or make a brooch from, a whale stamp, a stuffed whale (which Joshua LOVES! ! !) and a really cute small whale pin...

So now it's my turn to Pay It Forward...!
If there is anyone who is interested in receiving a small PIFpackage, let me know!
You don't have to have a blog to enter... You just have to like receiving a small gift and be open to the idea of maybe Paying It Forward...!

Love, Caroline


Sunday, May 13, 2012

Loretta Grayson

I feel like such a copycat...

I while ago I came across this pin. After clicking and clicking and clicking some more I endend up on Loretta Graysons blog.
All those colors made me sooooo happy... I also found her "tutorial", which show het process of creating her artworks. 

I originally wanted to create something similar with scrapbookpapers, but since my craftroom is such a mess (I'm not even close to finishing the reorganisation) and I didn't want to make a huge mess on our dinnertable, I decided to try out my Derwent pencils on canvas.
So I made a sketch and started coloring...

I blended every block with white spirit, so fill the canvas and make the colors more vibrant. I think I succeeded pretty well...

I did fill the trunk and the branches of the tree with black acrylic paint. First the whole thing with just black and after that dried, I applied different shades of grey.

When those layers dried I did the bark like Loretta does, with a very thin brush I made sort of circular patterns...
I'm still trying to figure out how I can create a bit of a grungy rim around the outside of the circle, without ruining the pencilwork.
I'm thinking of trying watercolor on a testpiece...
This week I need to buy some goldpaint for the "star"details.
I thought af adding the stars by glueing rhinestones on, but that'll probably be to much.
I'll be doing a combination of both...

So... Not the whole "artwork" is copied, but I still feel like a copycat...

Love, Caroline

Tuesday, May 1, 2012

Out with the old, in with the... old?

If you've read my previous post, this one might seem strange...

Yesterday was Queensday here in Holland. A national holiday with all kinds of festivities. Sort of a tradition for me, is to scour the "Vrijmarkten" (thriftmarkets) for all kinds of secondhand goodies.
Since we moved to Almere, the scouring starts the evening before Queensday, because the thriftmarkets start at 6PM here.
Queensday itself was spent in Harderwijk, where I grew up and my mom still lives.

Hubby went to Amsterdam with a friend and I hung Joshua in the ringsling for my shopping trip. He fell asleep after about an hour of looking at everything. So many new impressions...


This is what I scored:

Almere


Harderwijk


As you can probably guess, I am veeeery happy... Especially with the storehouse in the first picture and the vintage Acitivity Centre. They were such great finds!
(Most of the books (except for the Dick Bruna ones) are for the bookcrate at work)

Now I'm of to the couch for some crocheting-time...!

Love,

Caroline

Friday, April 27, 2012

Spring Cleaning

Well, not really cleaning, it's more organizing and clearing out...

We live in a 3 bedroom, 2 storey familyhome. We don't have an attic.
Before Joshua was born we used the middle bedroom as our "office/craftspace/library" (I'm a huge childrensbookfan). The smallest bedroom was used as our attic, to store all kinds of stuff we didn't use often.
The room was filled to the brim, you could only open the door and take one step inside, the rest of the floorspace was filled up.

When I found out I was pregnant, we started clearing out our "attic". We filled a large container with waste and brought LOADS of stuff to the thriftstore.
Things we really wanted to keep found a new "home" in the officebedroom and in the cabinets my dad proudly built above our stairs (we now call those our attic).

I never expected to accumulate sooooo much babystuff and toys in such a short time, Joshua is just 8 months old.... And we really don't buy much things, because I really DON'T want to spoil him...
We started organizing our livingroom and needed to clear some thing out. "Just store it in the office, until we find a better place." is a phrase heard often in our home...
With the result that our office is completely filled up with clutter...

So yesterday I started organizing and clearing out.
Three weeks ago my mom helped me to put all my schoolpapers in the right files. So I would have some space in the bookcases.
Last week we went to Ikea to buy plastic containers to store craftsupplies in and to put Joshua's clothes (which are too small already) in. The clothescontainers will be stored on my moms attic.
(Thanks mom! I tried to not keep too much... Just "special" stuff...)

I've already put lots of stuff on Marktplaats (dutch E-bay), take a look if there's anything you might be interested in?
I'll probably be adding more...

Here is a before picture... (I'm really embarrased to show this...)


The after picture is coming, I hope soon...!

Love, Caroline

Tuesday, March 27, 2012

LeafGarland Tutorial

First off: I'm going to mention someone is this blogpost whom I have mentioned a lot...
I guess it's because we have so many common interests.
We share a lot of the same hobbies and the same idea's.

As with this one...

About a year ago, Rebecca created this tree. I had seen similar trees around the web, but in my opinion, they were all waaaaay to expensive.
So I asked Rebecca for the pattern. It had been tucked away safely in my agenda, but a couple of weeks ago, I finally found the time (and peace of mind, busy, busy, busy) to trace it and ask hubby to cut it out for me.

So while it was dark outside, he sawed away in out kitchen...
To be honest, we do a lot of DIYing in our kitchen during the darker evenings of the year.
Our shed is just to cramped and cold and we have a very patient vacuum cleaner.

So the tree has proudly been standing on the cabinet in our livingroom.

But with Spring coming and leaves starting to grow, I wanted a little decoration for my little tree.
That's when I thought of a leafy garland and made a tutorial as I went along...
Here it comes:
1. Cut some leaves from green felt. Mine are about 2cm long.

2. Pick a thread to stitch them on. I used DMC
embroidering thread in a color similar to the color of my wood.
3. Stitch the thread throught one of the leaves
and slide it to about 5cm from the end of the thread.
4. Stitch the tread back through the leaf.
Tie a knot in the thread, so the leaf hangs down.
5. Stitch through the next leaf and slide it
to where you want it on the thread.
I spaced them about 5 to 7cm a part.
Repeat step 4 and 5,
 untill al the leaves are stitched onto the tread.
6. Weave the garland in to the tree and VOILA... A Spring-y tree...
Love, Caroline

Monday, March 26, 2012

ThriftStore Finds

Last week I payed a visit to the thiftstore.
Finally I had a satisfied feeling when I left.
I'm always complaining that others find the cool stuff and when I'm there, there's nothing good...
Well, not this time!

A sugarshaker and a cafetiere for a friend.


A new suitcase for the class sleep-over bear.


A fleece vest for Joshua. Maybe add a whale on the back?


I also bought 5 kids magazines to copy from for school and a "Berenboot"-comic.


Love, Caroline

Sunday, March 25, 2012

Taggies

Last week I made two taggies. The first one was a gift for a friend son, who is 4 weeks older than Joshua.
Joshua loves the rustling of plastic, so I put a layer of plastic in between the two layers of fabric.

It was a big succes with the little boy who I gave it to.

I also made one for Joshua with the piece of gnome-fabric Rebecca  gave me.
I added the clip she also gave me, so I can clip the taggie on Joshua's clothing or the walker when we go out.

I used a slightly thicker plastic for this one, but next time I'm using the thinner one again, since that rustles a lot more. I also didn't sew an extra line along the outside, but I'm adding that this week. I think it just gives the taggie a little more finished look.
Love, Caroline